Walking into a historic townhouse for the first time is often a visceral experience. There is the scent of old growth timber, the sight of sunlight hitting original plaster, and the weight of history in every creak of the floorboards. However, for many owners, that romance quickly fades when faced with the "Hodge-Podge Trap"—a renovation that attempts to modernize so aggressively that it strips the building of its soul, leaving behind a sterile, characterless box that feels neither historic nor truly modern.
The secret to a successful historic townhouse remodel lies in the delicate balance between 19th-century craftsmanship and 21st-century functionality. To modernize without regret, you must prioritize the preservation of "soul-defining" elements—such as hand-carved marble mantels and mahogany bannisters—while ruthlessly upgrading the "invisible" systems that keep the home comfortable. By leaning into a cohesive materials palette and utilizing strategic design hacks like high-end cabinet fronts on standard frames, you can create a space that feels curated, not just "fixed."
Step 1: Assessment—Gem or Money Pit?
Before the first sledgehammer swings, a cold, hard assessment of the building's "bones" is required. In the world of historic preservation, there is a fine line between a "paint-and-patch" cosmetic refresh and a full-scale structural overhaul. You need to determine if you are dealing with a "gem" with deferred maintenance or a "money pit" with systemic failure.
Start with the foundation and the "envelope." In older townhouses, especially those built with balloon framing, settling is common, but significant cracks in the masonry or a sagging ridgeline can signal expensive stabilization needs. Furthermore, check for cast iron corrosion in the plumbing stacks and signs of foundation settling. These aren't just repairs; they are foundational requirements that must be addressed before any aesthetic work begins.
From a financial perspective, keep an eye on the neighborhood ceiling. A common regret among townhouse owners is "over-improving" for the block. A good rule of thumb is to ensure your total renovation investment (purchase price + construction) does not exceed 110-115% of the median local sale price for a renovated home of similar square footage. If the structural repairs alone eat up 40% of your budget, you may need to scale back your dreams of a professional-grade chef's kitchen.
Step 2: The Preservation Checklist (What to Save)
In a historic remodel, knowing what not to change is as important as the design itself. Certain architectural features provide a "materiality" and "patina" that modern manufacturing simply cannot replicate. These elements anchor the home in time and significantly boost resale value.
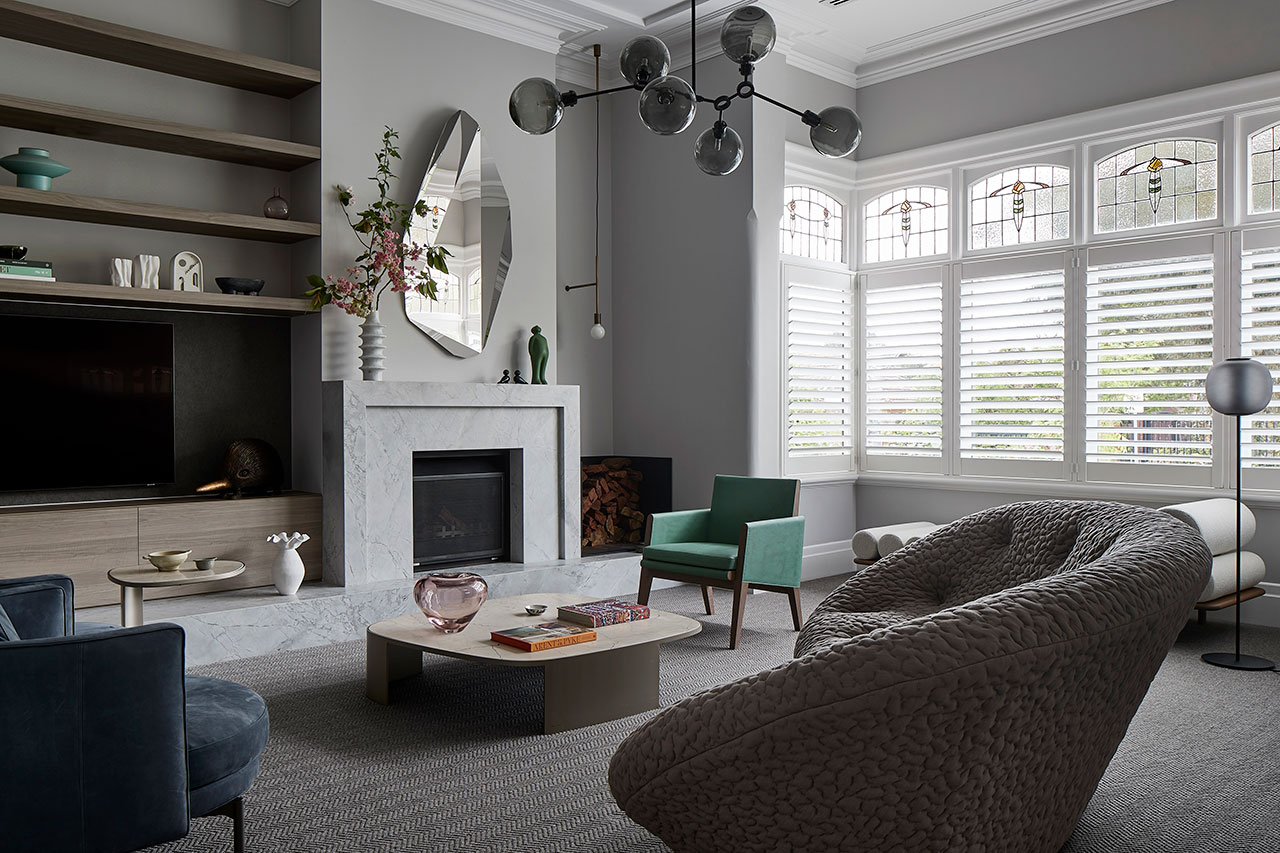
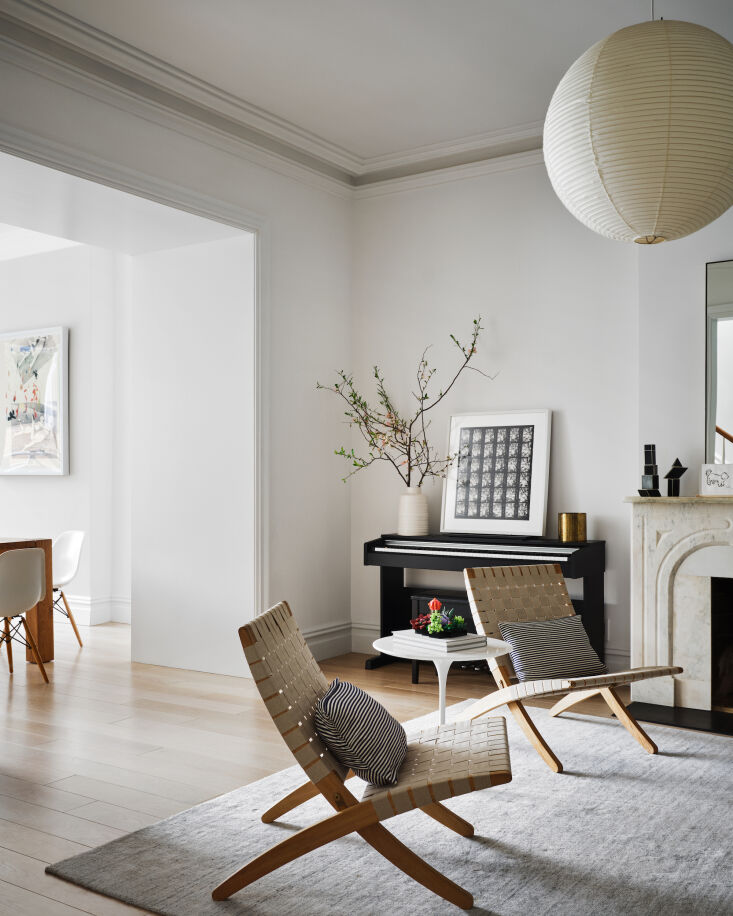
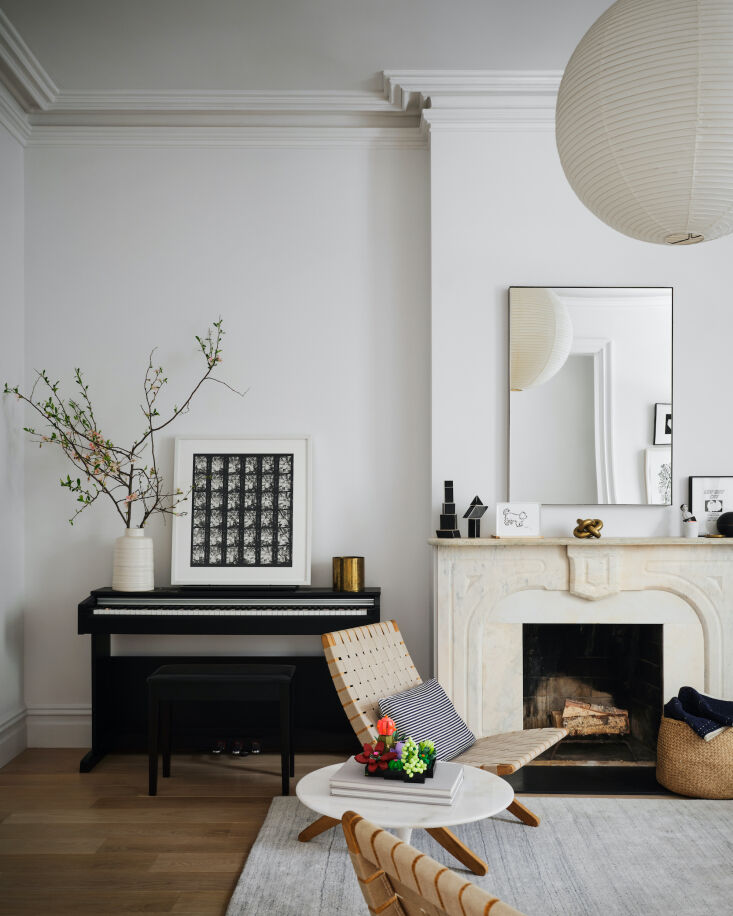
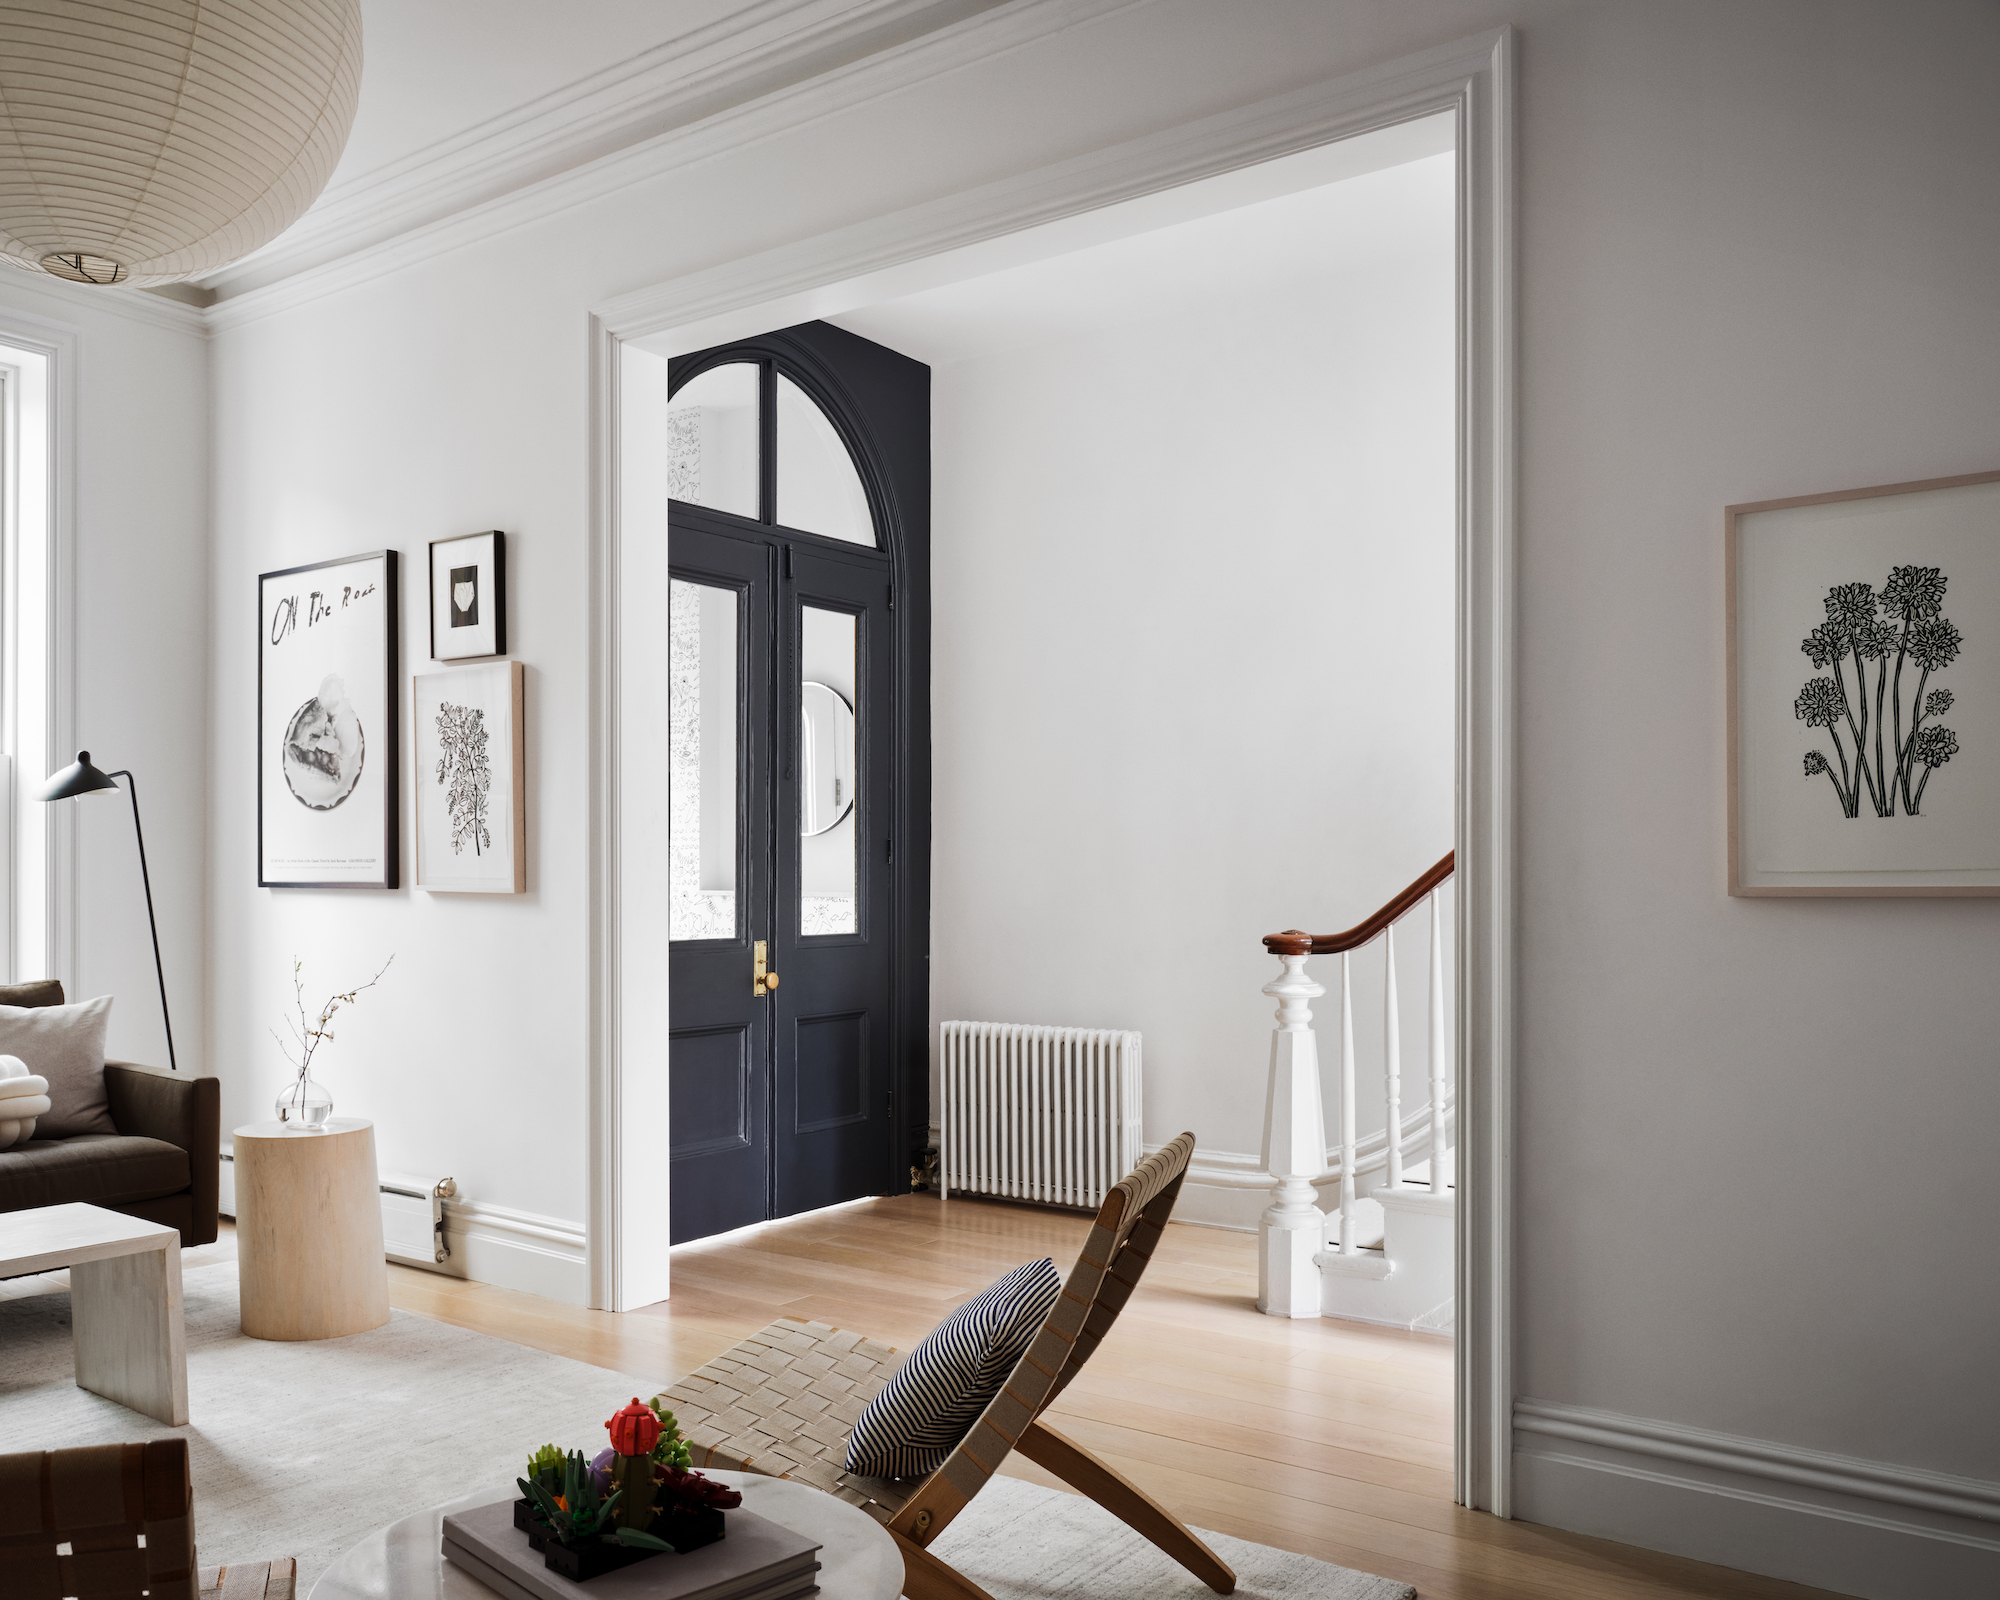
Character-Defining Features You should fight to keep marble mantels, mahogany bannisters, and intricate ceiling medallions. Even if they don't perfectly align with a "modern" aesthetic, they provide the necessary contrast that makes modern furniture pop. Conversely, you should feel empowered to let go of features that hinder modern livability, such as heavy, dark wood wainscotting in narrow hallways or restrictive pocket doors that have warped beyond repair.
The Flooring Debate One of the most valuable assets in a pre-1940 home is the original heart pine or oak flooring. Unlike modern "engineered" woods, original hardwoods from this era offer a much higher grain density. This density makes them more durable and allows for a depth of stain that modern wood can't match. Restoring these floors isn't just an aesthetic choice; it provides superior long-term resale value compared to ripping them out for new materials.
To help you decide what to keep, use the following "Stay vs. Go" guide:
| Feature | Status | Recommendation |
|---|---|---|
| Marble Mantels | Stay | Irreplaceable. Even if non-functional, they serve as the room's anchor. |
| Original Plaster | Go (Partial) | Keep where possible, but replace with drywall if crumbling to allow for insulation. |
| Mahogany Bannisters | Stay | These are the "handshake" of the house. Stripping and refinishing is worth every penny. |
| Dark Wainscotting | Go | In small townhouses, heavy wood paneling can feel claustrophobic. |
| Radiators | Stay/Modify | Cast iron radiators hold heat beautifully. Consider sandblasting and powder-coating. |
Step 3: The 'Invisible' Essentials (System Upgrades)
The biggest regrets in townhouse remodeling don't come from the wrong paint color; they come from the pipe that bursts three months after the walls are closed. Historic homes require "invisible" upgrades to meet the demands of modern appliances and climate expectations.
- Electrical Overhaul: Most historic townhouses still harbor remnants of knob-and-tube wiring or underpowered 60-amp services. To run a modern home—complete with EVs, induction cooktops, and high-end HVAC—you must upgrade the electrical panel to at least 200 amps and replace all legacy wiring to meet current fire codes.
- Thermal Performance: Old townhouses are notoriously drafty. However, you must be careful with insulation. Using dense-pack cellulose insulation is often the best choice for historic structures; it provides excellent R-value and fire resistance while being gentle enough not to blow out original plaster walls during installation.
- HVAC Integration: Avoid the temptation to drop ceilings for bulky ductwork. Instead, look into high-velocity systems or mini-split heat pumps. These allow you to maintain original ceiling heights and crown moldings while providing zoned climate control.
- External Durability: If your townhouse has wood siding or accents, consider the long-term maintenance. Fiber cement siding that matches historic wood profiles is a game-changer. It offers a 50-year warranty and only requires repainting every 15-20 years, whereas traditional wood siding often needs a refresh every 5-7 years.
Pro Tip: Never skimp on the "wet" rooms. While you’re upgrading systems, ensure you’ve replaced any lead or galvanized steel piping with copper or PEX. It’s an unglamorous expense that prevents catastrophic leaks in your newly finished spaces.

Step 4: Elevated & Economical—Design Hacks
High-quality remodeling doesn't always require a high-end budget. The "Alex Morgan" approach to design is about spending on what you touch (hardware, faucets, floors) and saving on what you don't (cabinet carcasses, secondary lighting).
The IKEA Built-in Hack Custom millwork is often the most expensive line item in a townhouse renovation. To save thousands without sacrificing the "custom" look, use IKEA Sektion cabinet frames for your kitchen and built-in library units. The secret is to pair these affordable frames with custom-made fronts from companies like Semihandmade or Reform. This allows you to get a bespoke, high-end aesthetic (think walnut veneers or matte lacquers) at about 40% of the cost of fully custom cabinetry.
Material Intelligence In high-traffic areas like mudrooms or bathrooms, natural marble can be a headache to maintain. Opt for high-quality, durable ceramic or porcelain tiles that mimic the look of natural stone. Modern printing technology has made these nearly indistinguishable from the real thing, but they won't stain or crack as easily as soft Carrara marble.
Lighting Strategy Lighting is the "jewelry" of the home. To achieve an industrial-chic or "Brooklyn Brownstone" look on a budget, take standard hardware store porcelain sockets and elevate them with brass-tipped oversized Edison bulbs. This creates a high-design, intentional look for less than $20 per fixture.
Step 5: Navigating the Red Tape (COA & Permits)
If your townhouse is located within a designated historic district, the city is effectively your co-designer. You cannot simply change windows or paint your brick without approval.
The Certificate of Appropriateness (COA) is your most important document. Any work affecting the exterior—windows, cornices, front doors, or even fences—typically requires a COA from the local preservation commission. This process can take 4 to 8 weeks, so factor this into your timeline before hiring contractors.
Regulatory Warning: Don't ignore the interior/exterior divide. While interior changes (unless the interior is specifically landmarked) are usually governed by standard building codes, any work that is visible from the street will trigger a preservation review. Failing to get a COA can result in "stop-work" orders and heavy fines.
The Silver Lining: Tax Credits The "red tape" isn't all bad. Many states and the federal government offer substantial financial incentives for historic preservation. You may be eligible for a Federal Historic Tax Credit (20%) or State Tax Credits (up to 25%) if the property is income-producing. For primary residences, check for local "property tax freezes" that reward owners for restoring historic facades.
Step 6: The Golden Sequence—The Order of Operations
The order in which you renovate a townhouse determines whether the project stays on budget. Many owners make the mistake of painting or finishing floors while structural work is still happening, leading to costly rework.
- Stabilization & Envelope: Fix the roof, the foundation, and the windows first. You must make the house "watertight" before doing anything else.
- Demolition & Structural: Remove what isn't staying and reinforce the joists or headers.
- Mechanical, Electrical, and Plumbing (MEP): Install the "guts" while the walls are open. This is the time for that 200-amp panel and the new plumbing stacks.
- Insulation & Drywall: Once the inspections pass, close the walls.
- Flooring & Tile: Install the "hard" finishes.
- Cabinetry & Built-ins: Install your IKEA frames and custom fronts.
- The "Sugar Icing": This final phase includes crown moldings, final paint, and installing light fixtures.
FAQ
Q: Is it cheaper to replace or restore historic windows? A: Restoration is often more expensive upfront because it is labor-intensive. However, a restored old-growth wood window, when paired with a high-quality storm window, can match the thermal performance of a modern replacement and will last another 100 years, whereas modern vinyl replacements often fail within 15-20 years.
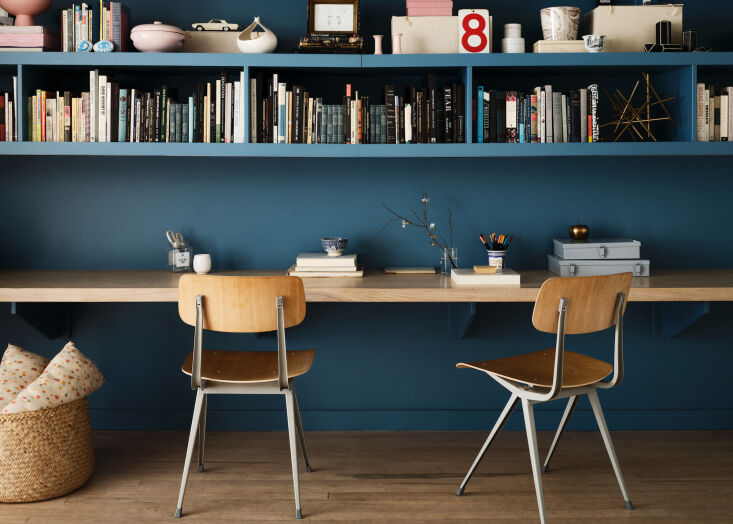
Q: How do I choose a color palette that feels modern but respects the history? A: Start with a "Museum White" or a soft neutral for the walls to let the architectural details shine. Use "Maritime" colors (deep blues, charcoal, or forest green) for accents like the kitchen island or the front door to provide a sophisticated, timeless contrast.
Q: Can I add an addition to a historic townhouse? A: Yes, but preservation commissions usually require the addition to be "subordinate" to the original structure. This often means it must be set back from the front facade and use materials that complement, but don't exactly mimic, the original building.
Remodeling a historic townhouse is a marathon, not a sprint. It requires a steward's heart and a contractor's mind. By preserving the irreplaceable elements of the past and ruthlessly modernizing the systems of the present, you create a home that doesn't just look like a museum piece—it feels like a sanctuary built to last for another century. Don't fear the age of the house; embrace the character that only a hundred years of history can provide.